Indonesien - Visa & All indonesia arrival card
The All Indonesia Arrival Card is another step toward paperless travel – and honestly: about time! Instead of juggling multiple forms on the plane with a shaky tray table and a half-dry pen, I can now get it all done from the comfort of my home. All I need at the airport is the magic QR code. For us travelers, that means less stress, less paperwork, and more time for what really matters: the adventure of Indonesia.
Visa for Indonesia: Everything you need to know
I still remember my very first trip to Indonesia – that moment when you step off the plane, the warm tropical air wraps around you, and suddenly you find yourself in an entirely different world. But before I could dive headfirst into the adventure, I had to tackle one of the most crucial (and surprisingly unsexy) questions:
Which visa do I actually need for Indonesia?
At first glance, the topic sounds about as exciting as reading the small print on a shampoo bottle. But trust me: a little preparation will save you a ton of nerves at the airport and open the door to a truly stress-free experience in this incredible country.
Whether you’re planning just a few weeks lounging on Bali’s beaches, drifting for months across Sumatra and Sulawesi, or maybe even staying longer – there are different visa options tailored to your travel style.
In this post, I’ll give you an overview of the current regulations, explain which types of visas are available, how to apply for them, and what you should absolutely keep in mind to make sure nothing gets in the way of your Indonesian dream trip.
The visa and the All Indonesia Arrival Card for entry
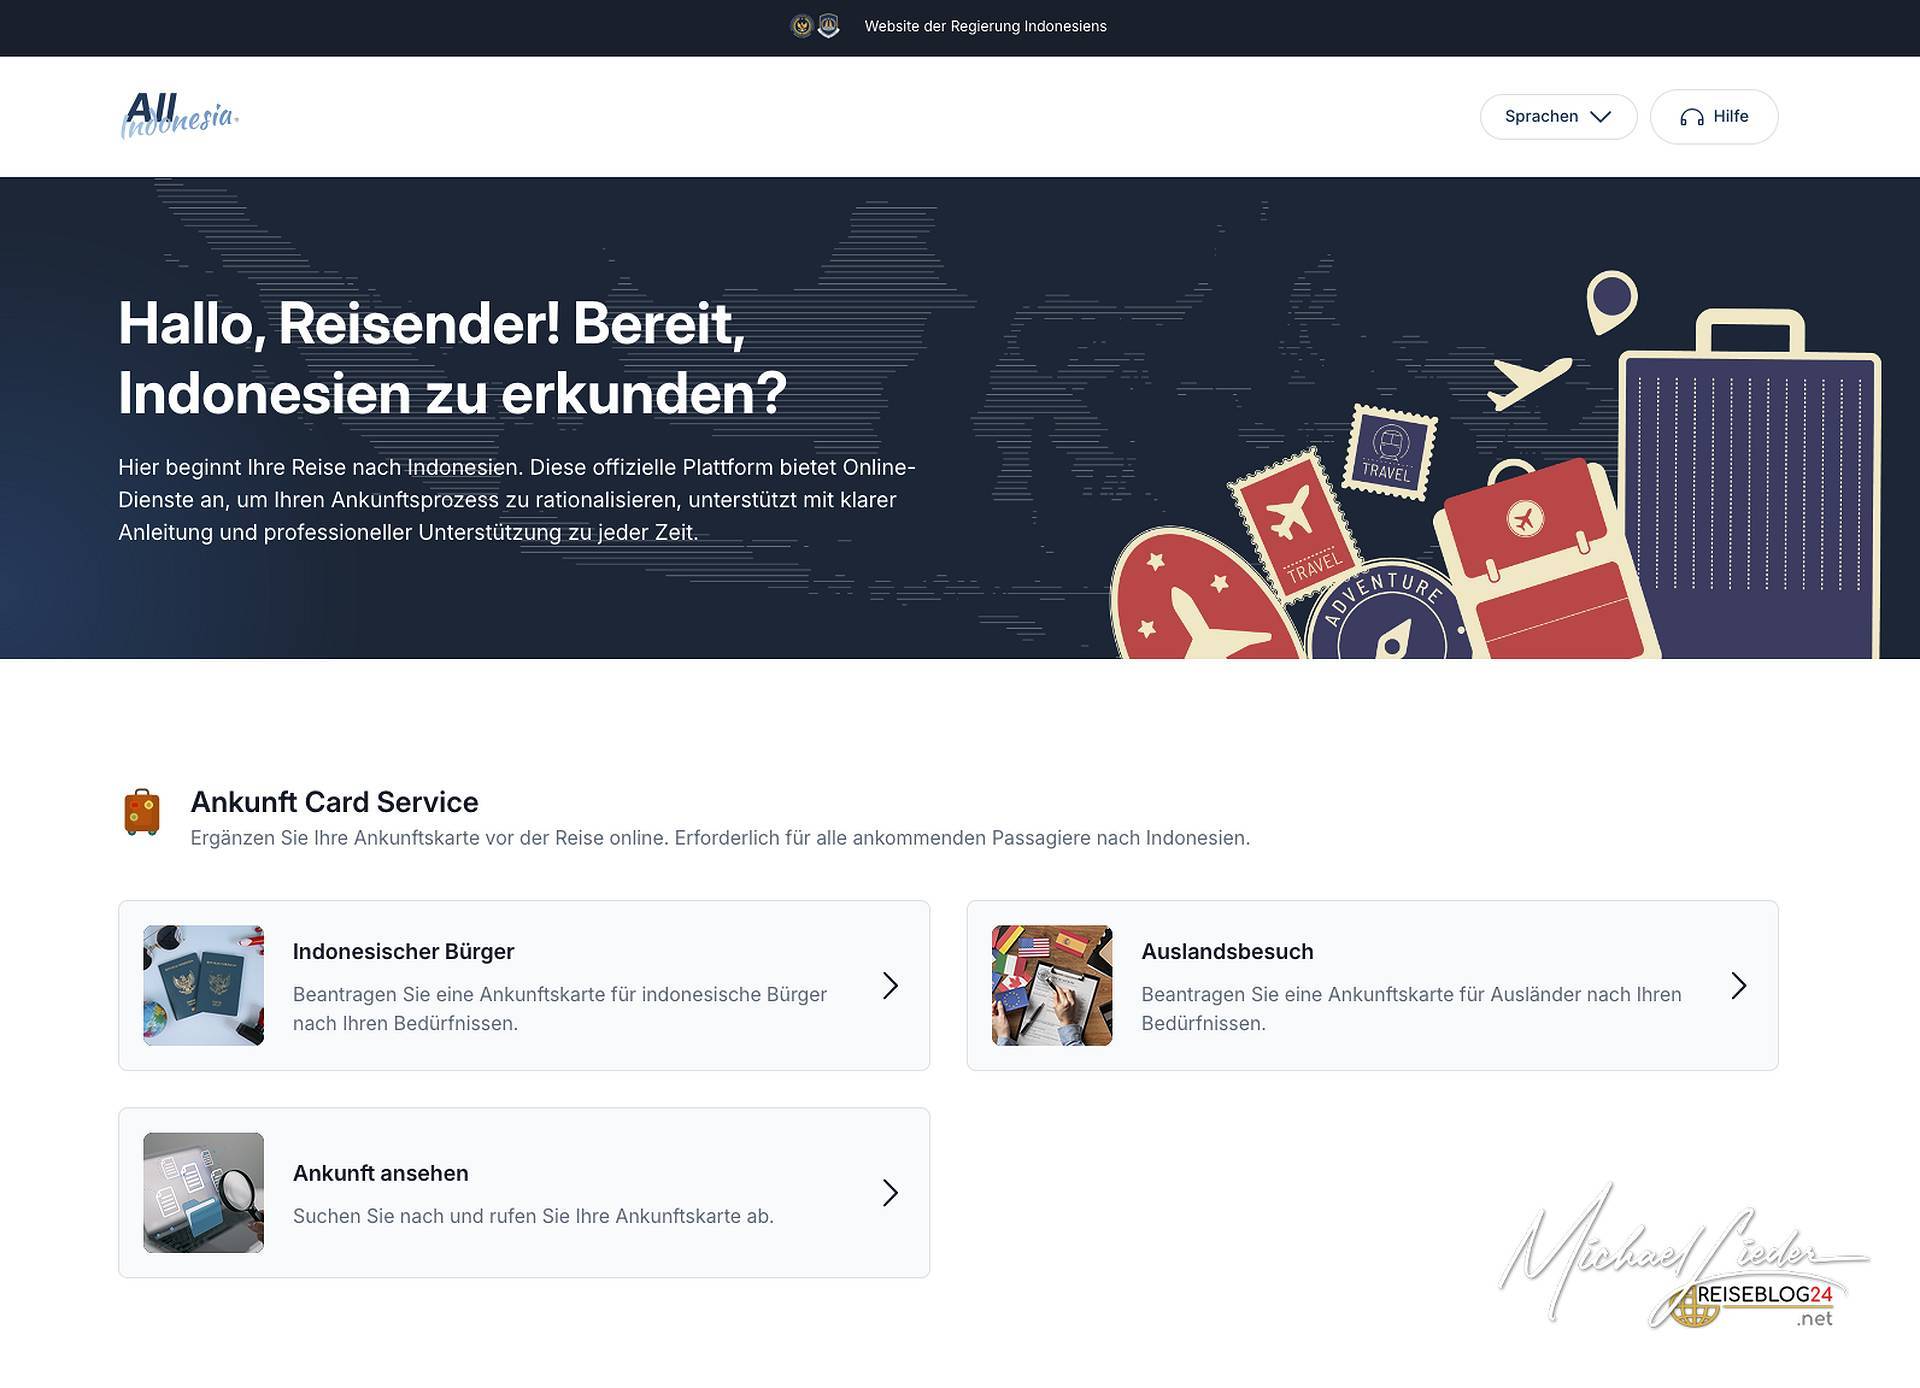
Additional Notes – What’s Being Asked?
When filling out the All Indonesia Arrival Card, you’ll need to provide some basic information:
Personal details (name, date of birth, passport number, nationality)
Flight details (arrival and departure dates, flight number)
Accommodation in Indonesia (hotel or address)
Health information (e.g., symptoms, recent stays in certain countries)
Customs declarations (cash over USD 10,000, electronic devices, goods, animals, plants, etc.)
At the end, you’ll receive a shiny QR code – save it on your phone (a screenshot works wonders) or print it out if you’re the cautious type.
Pro tip: Don’t fill out the form too early, or it will expire. But also, don’t leave it for the plane – unless you enjoy testing the reliability of in-flight Wi-Fi at 35,000 feet.
The All Indonesia Arrival Card – Digital Travel Made Easy
When I first flew to Indonesia, I had the usual stack of forms in mind: customs declaration, maybe a health questionnaire, and of course the visa or Visa on Arrival. A bit of a hassle – and sometimes stressful if you’re standing in line half-asleep after a long flight. But things just got simpler: Indonesia is rolling out the All Indonesia Arrival Card – a digital entry declaration that combines all those separate forms into one.
At first, it sounds a bit complicated, but in reality, it’s a huge relief for us travelers. In this post, I’ll walk you through what the new card is all about, how to fill it out, and what you should definitely keep in mind.
What is the All Indonesia Arrival Card?
The All Indonesia Arrival Card is not a visa, but a mandatory entry declaration. It combines what used to be three separate forms:
-
Customs (e.g., cash, goods, electronics)
-
Health information
-
Immigration details
Everything now runs digitally: you fill in the details online from the comfort of your couch before your trip, and in return you’ll get a QR code that you’ll simply show upon arrival in Indonesia.
The best part? It’s completely free – so be careful with shady third-party websites trying to charge you for it.
How and When to Apply?
👉 You should complete the card within 72 hours before your arrival in Indonesia – no earlier, no later.
The official website is: allindonesia.imigrasi.go.id
Alternatively, there’s also an official app from Indonesian Immigration – handy if you like to keep your paperwork in your pocket (and your Wi-Fi signal strong).
Sulawesi and the Visa Question – What You Need to Know
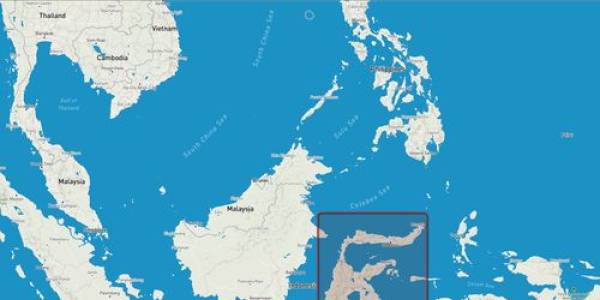
Sulawesi, the largest island east of Java, draws travelers in with breathtaking landscapes, diverse cultures, and warm hospitality. But before you dive headfirst into this adventure, there’s one question to sort out: the visa.
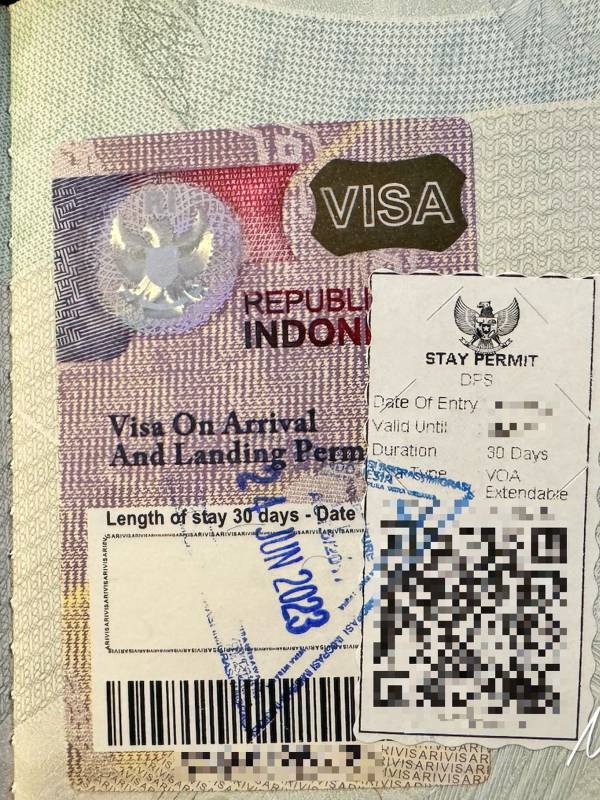
Good news: German citizens don’t need to arrange a visa in advance for stays up to 30 days on Sulawesi (or anywhere in Indonesia). Instead, you can conveniently apply for a Visa on Arrival (VOA) once you land.
What Do You Need for the VOA?
-
Passport: Your passport must be valid for at least six months beyond your planned departure date from Indonesia.
-
Return ticket: Proof of a valid return or onward ticket to another country.
-
Cash: About USD 35 (roughly EUR 30) in Indonesian Rupiah (IDR) – yes, cash only.
How Does the VOA Application Work?
-
Arrival at the airport: Head straight to the “Visa on Arrival” counter after landing.
-
Fill out the form: You’ll be handed a form to complete and sign (yes, real paper – the digital revolution hasn’t fully reached this step yet).
-
Pay the fee: Hand over the fee in cash at the counter.
-
Receive your visa: The shiny VOA sticker is placed directly in your passport, and voilà – welcome to Indonesia!
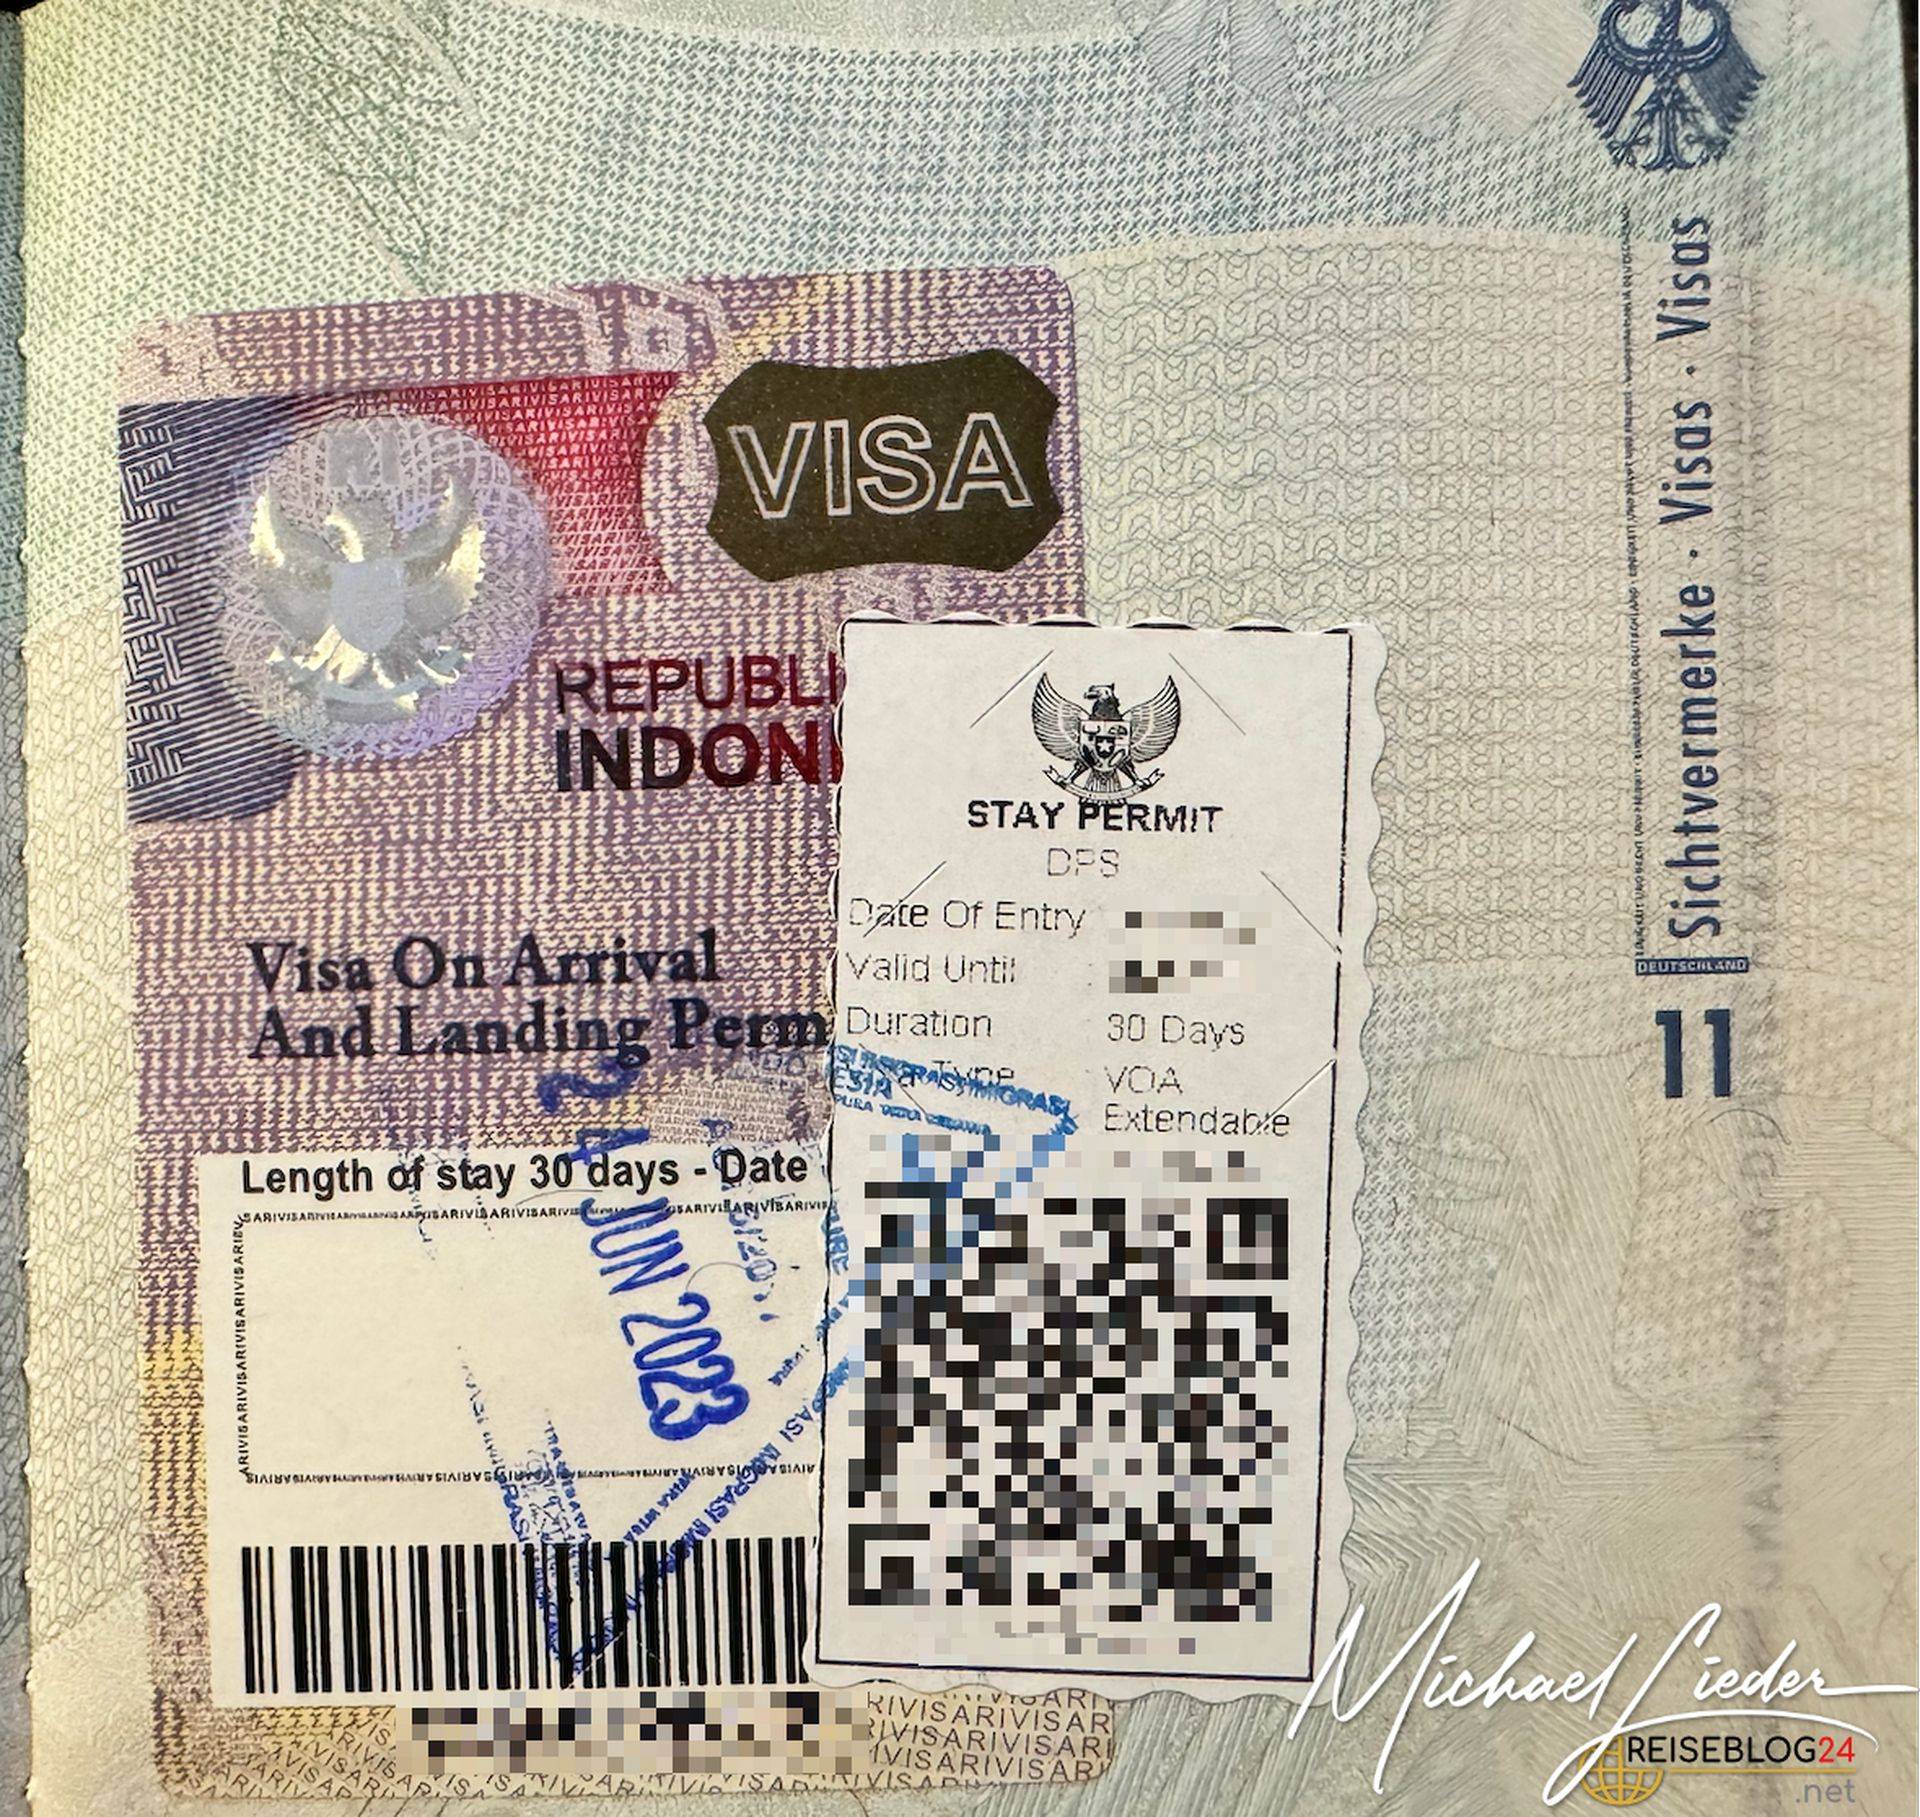
Additional Notes on the VOA
The Visa on Arrival (VOA) is valid for 30 days and can be extended once for another 30 days at an Indonesian immigration office (Imigrasi).
You must apply for the extension no earlier than 14 days before the visa expires.
For more details and the latest fee information, check the official page of the German Federal Foreign Office: Auswärtiges Amt – Indonesia Travel & Safety
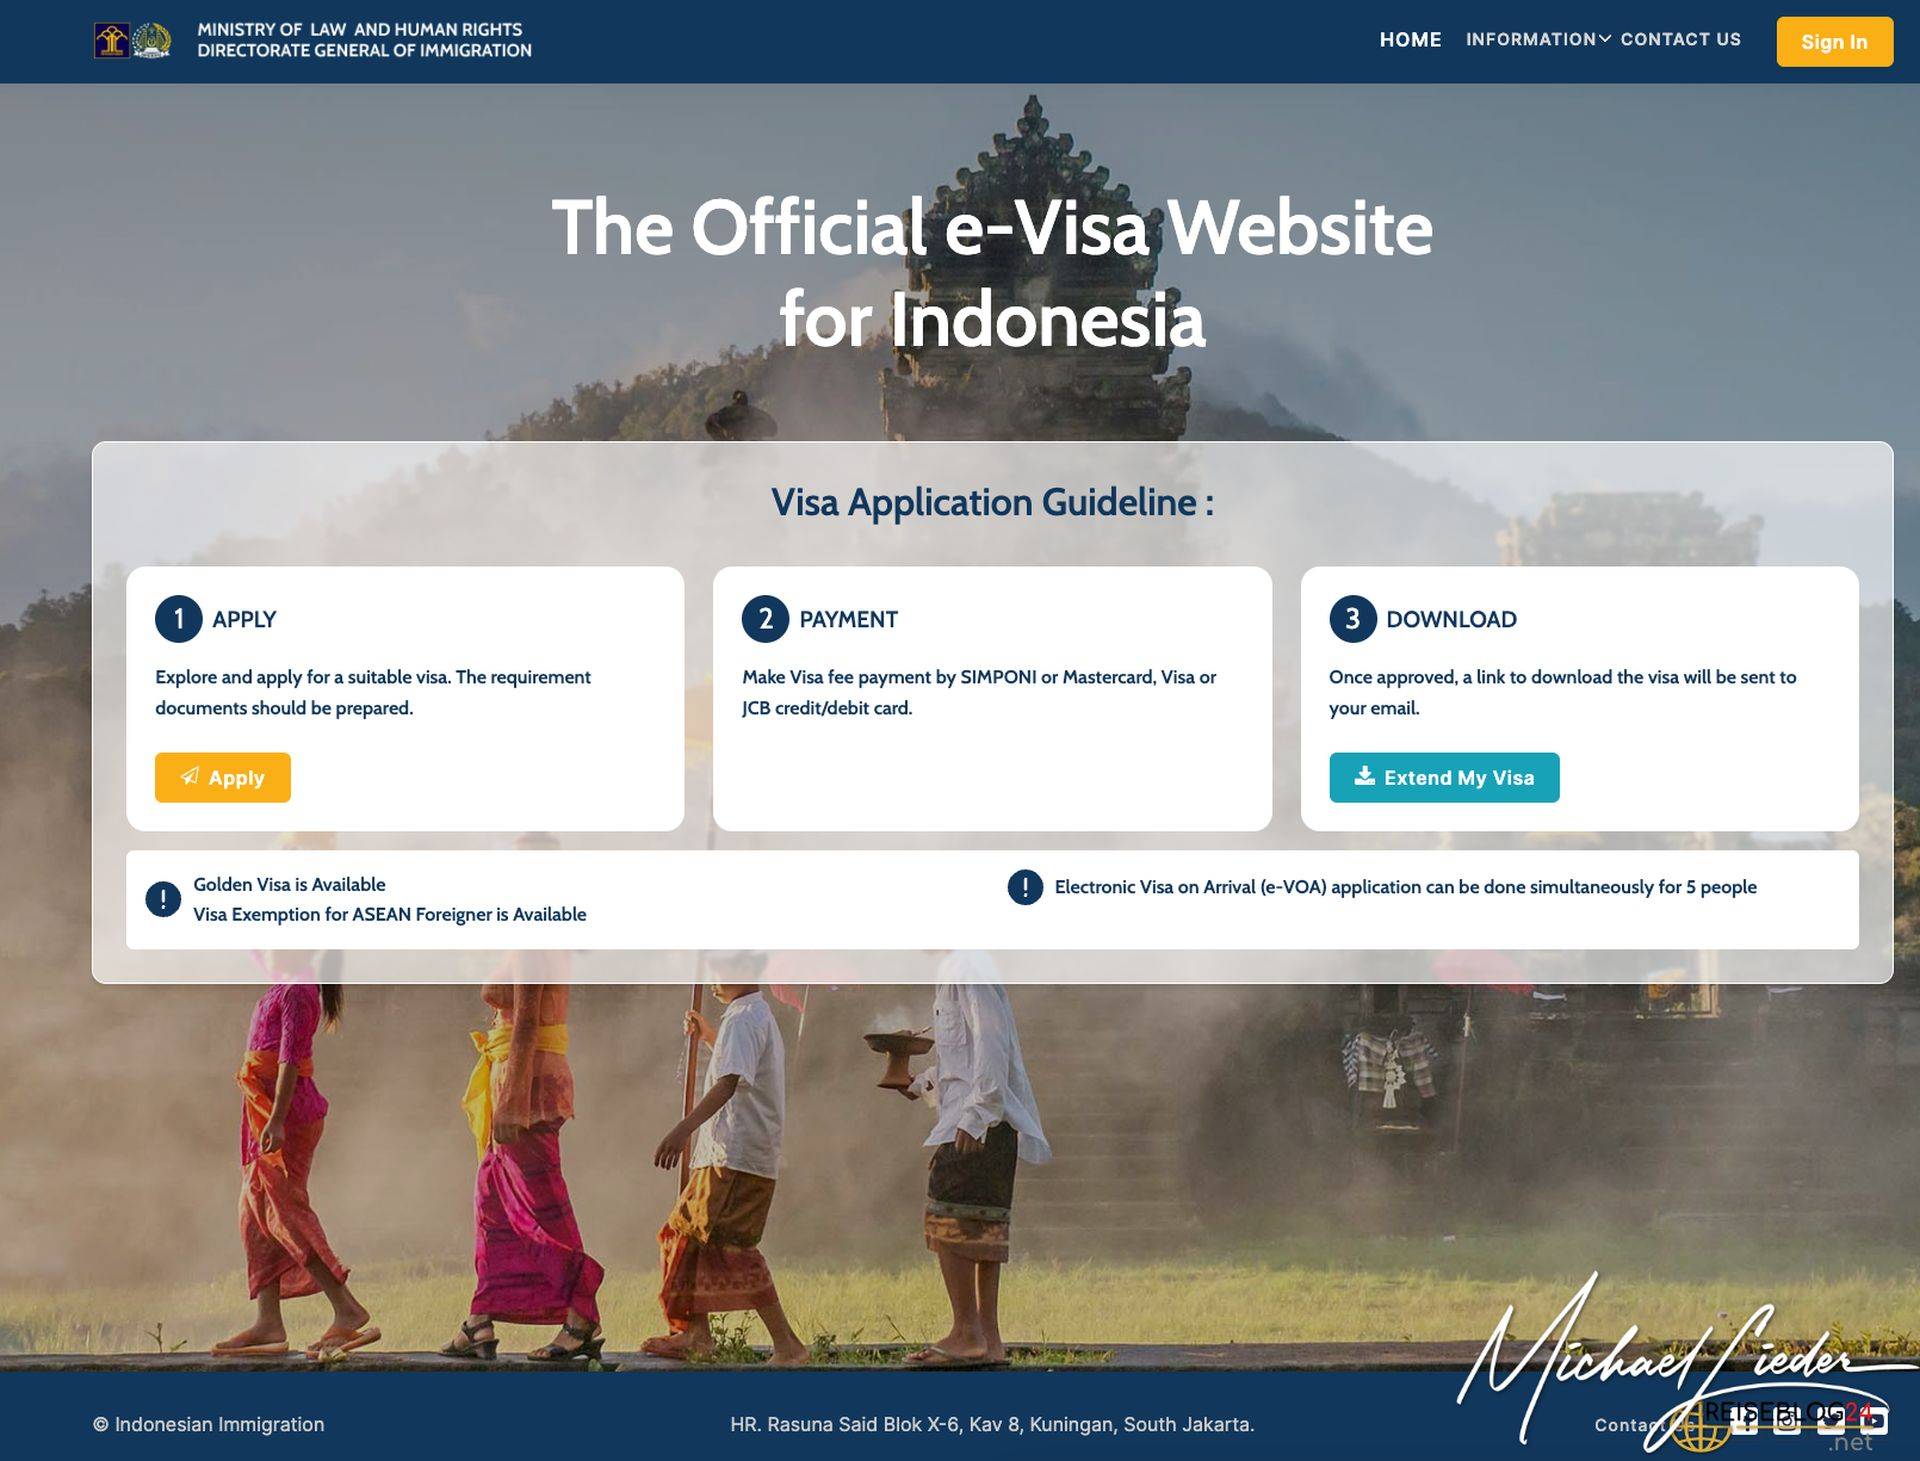
Pro Tip: Get Your VOA in Advance
You can also purchase your Visa on Arrival (VOA) online before your trip, which saves you the hassle of standing in long lines at the airport. By booking and paying in advance, you avoid the need to pay the 500,000 IDR fee in cash at the counter (or the equivalent in a foreign currency, such as USD 35 or €35).
Why does this matter? Because paying on-site often comes with hefty exchange losses – something you can easily dodge by securing your VOA online beforehand.
Visa for Indonesia:
more than 30 days in paradise
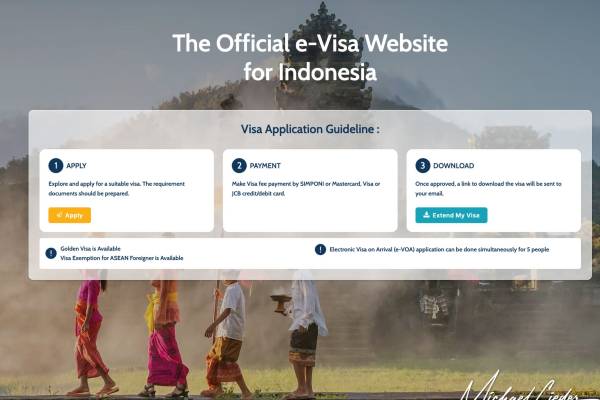
Applying for a Visa for Sulawesi
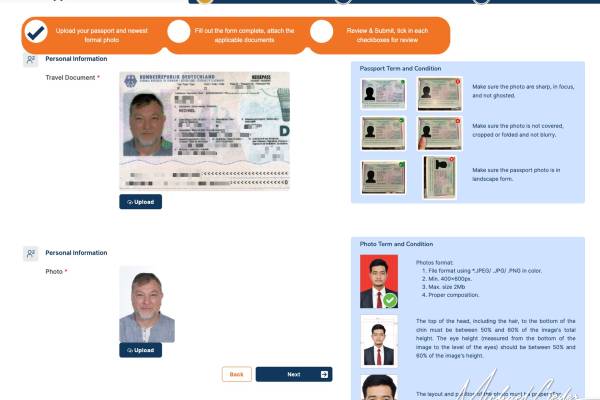
In most cases, applying for a visa for Sulawesi (or Indonesia in general) is done through the Indonesian Embassy or Consulate in your home country. The exact requirements depend on the type of visa you’re applying for, but generally, you’ll need the following documents:
-
Passport with at least 6 months’ remaining validity
-
Visa application form
-
Biometric passport photo
-
Proof of sufficient financial means
-
Health/Travel insurance
-
Invitation letter from employer (for a work visa)
-
Marriage certificate (for a spouse visa)
-
Proof of pension (for a retirement visa)
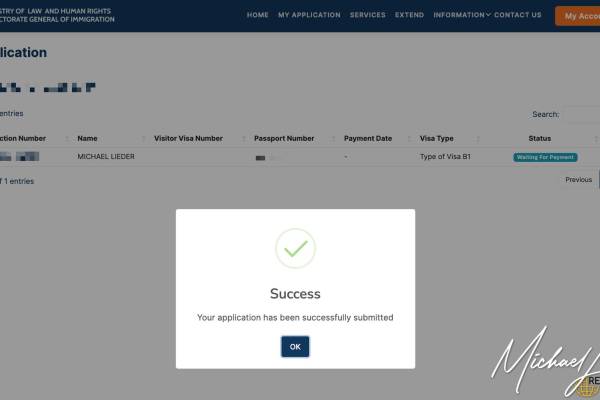
My Tip: Applying for your visa online is usually straightforward – and in most cases much faster and easier than going through the embassy.
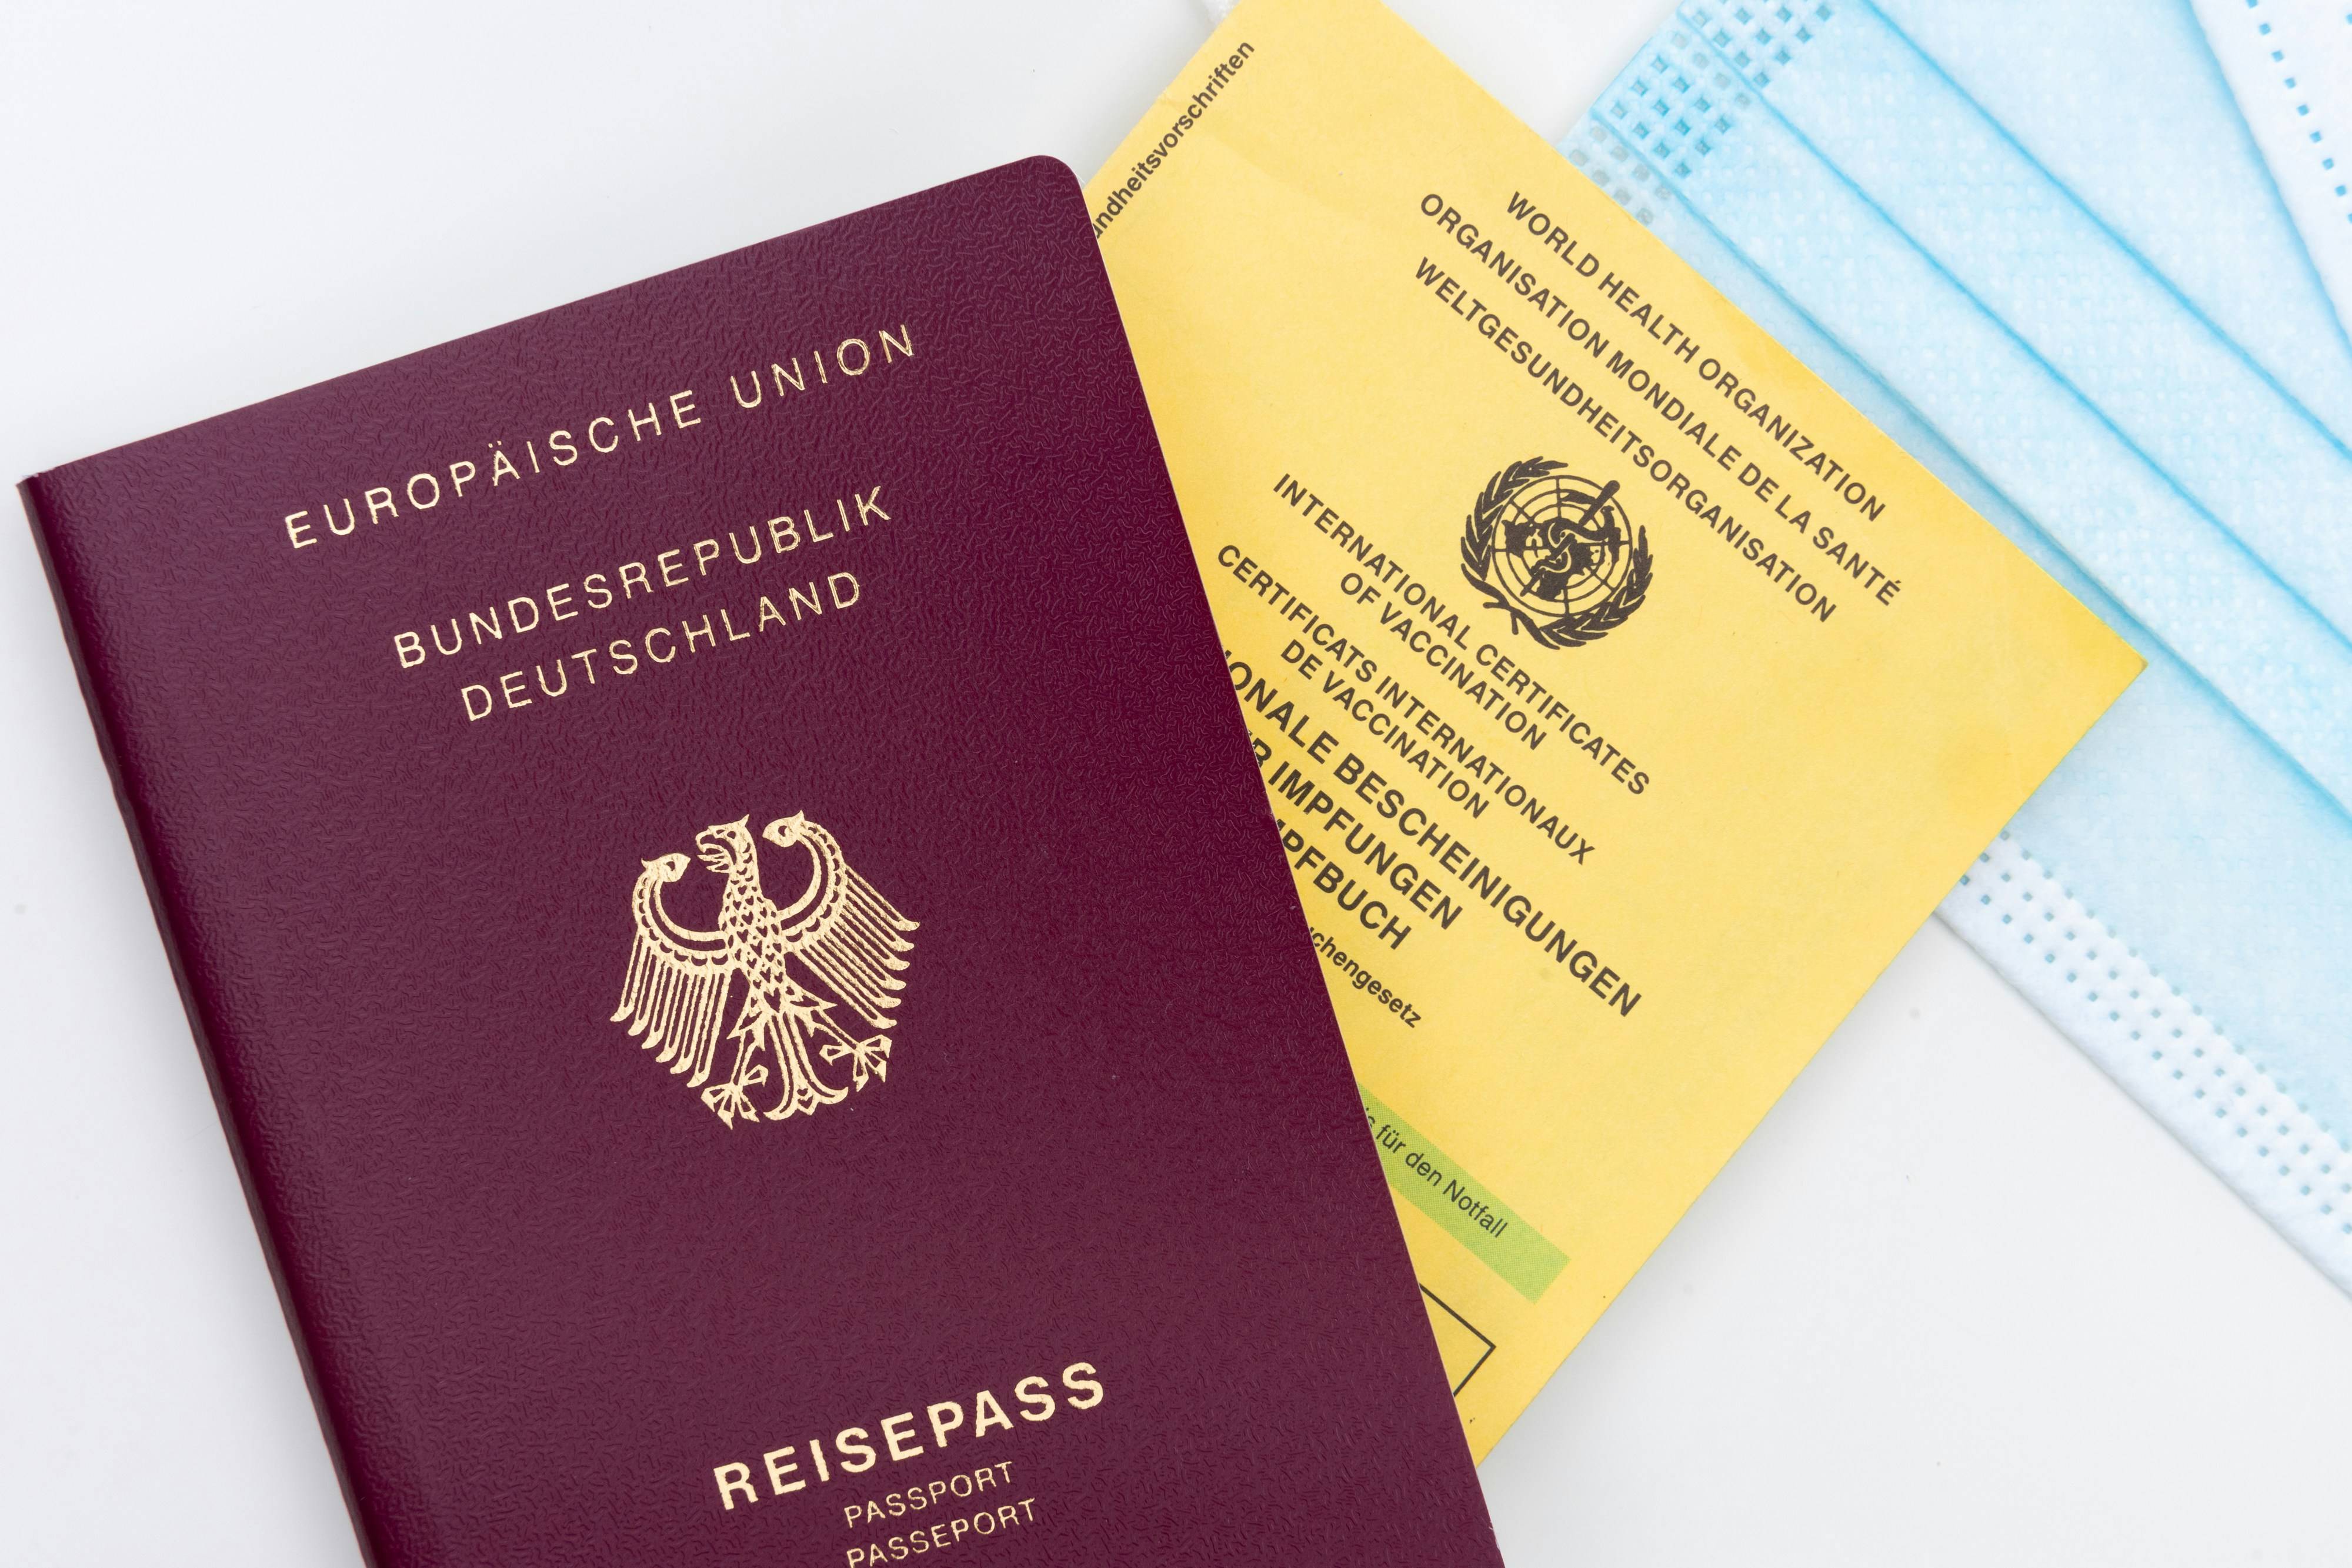
Types of visas for longer stays:
-
Overview of Other Visa Types
-
Business Visa: Ideal for business travelers, this visa allows stays of up to 60 days.
-
Work Visa: Required for longer-term employment in Indonesia. The application must be submitted by the employer in Indonesia.
-
Spouse or Partner Visa: Indonesian citizens can arrange a visa for their foreign spouse or partner, valid for up to 2 years.
-
Retirement Visa: Retirees with a minimum pension of USD 2,000 per month can apply for a visa valid for 1 year.
-
More info:
-
Where to Find Current Information
You can always find the latest details on visa and entry requirements on the website of the Indonesian Embassy in your home country.
When entering Indonesia, your passport must still be valid for at least 6 months, and the visa must be clearly visible in your passport.
Helpful tips and firsthand experiences from other travelers can also be found in countless online forums and travel blogs (and yes, you’ve landed in the right place here!).
Conclusion
With the right planning and preparation, applying for a visa for Sulawesi is far from rocket science. And if you’re staying longer, you’ll have the perfect chance to explore the island to the fullest and experience Indonesian culture up close and personal.
What else you should keep in mind
-
Important Things to Remember
-
Visa still required: The All Indonesia Arrival Card does not replace your visa. Depending on the length and purpose of your stay, you’ll still need a visa, a Visa on Arrival, or you may qualify for visa-free entry.
-
Passport validity: As always in Indonesia, your passport must be valid for at least 6 months upon entry.
-
Save your QR code: Download it to your phone and take a screenshot – it saves you stress if the airport Wi-Fi decides to take a nap.
-
Flight changes: If your flight schedule changes last minute, you’ll need to submit the form again.
-
Faster entry: Travelers who fill out the form in advance usually breeze through immigration much quicker.
-
Reiseblog Sulawesi
A few facts...
🧳 Checklist: 5 Things You Need to Know About the All Indonesia Arrival Card
✅ Not a visa replacement: The card does not replace your visa – depending on your travel purpose, you’ll still need a visa, a Visa on Arrival, or visa-free entry.
✅ Mandatory from October 2025: Starting October 1, 2025, the digital card must be presented upon entry to Indonesia – at all international airports.
✅ Online & free: Apply officially via allindonesia.imigrasi.go.id or the Immigration app – hands off shady third-party providers charging fees.
✅ 72 hours before arrival: You can fill out the form no earlier than three days before entry. After that, you’ll receive a QR code.
✅ Keep your QR code handy: Save it as a screenshot or print it – that way, you’re prepared even if airport Wi-Fi lets you down.


